Growing Roses From Cut Flowers
Have you ever seen a single flower that just made you gasp, and looked so good you wanted to somehow preserve it forever?

There’s always drying the flower, of course, but that option won’t keep it looking the same as it did when you first locked eyes on it.
Dried flowers are beautiful in their own right, and make great supplies for crafting projects or wedding confetti, but sometimes you just want to focus on fresh flowers.
It all started a few years ago. I was given a bunch of beautiful roses by my gorgeous boyfriend on the date of our anniversary. At the time, I would have preferred a ring, but it turned out I didn’t need to wait too long for that after all (better late than never – am I right ladies?!).
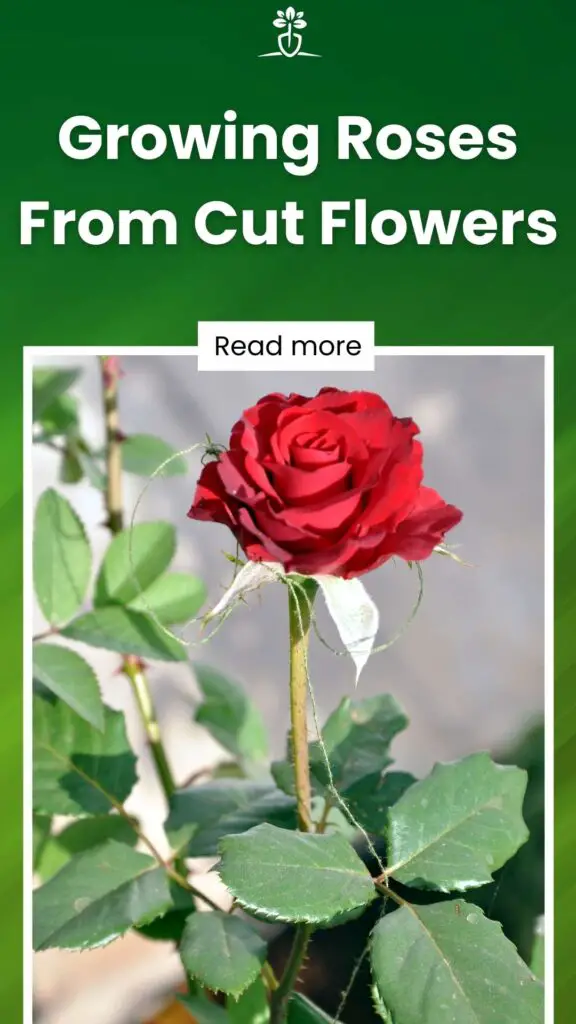
Anyway, although they were all the same color and size, there was one that stood out from the rest – I can’t put into words exactly what it was, but I know a special flower when I see one.
It was a perfect rose in every way, from the circumference of the head to the shape of the petals. And the smell – oh my goodness, it was just the most incredible aroma that had ever wafted into my nose.
So sweet and floral, just like a really expensive perfume, but with the added element of freshness. I think the symmetry of the overall appearance probably helped in this regard too, as the other flowers in the bunch were also super fragrant.
I set out to see if it would be possible to take this one rose and plant a new bush with it myself. Then, I’d be able to grow roses that were just as good and enjoy them all the more.
I read up online and, in the community, and found out that growing roses in this way is not only doable, but actually quite straightforward.
Since then, I have used the cutting to grow a healthy rose bush that brings me indescribable joy. However, different people have had different levels of success with it, so there are certain things you can do to maximize your chances of great results, as well as things to avoid.
Now I’ve been doing it for a while, I know some tricks of the trade and feel like I can confidently say I’ve mastered my current hobby. I’ve decided to share my personal experience to help you out if you want to go down this path yourself.
Contents
Preparation
The first thing you need to do when on your flower growing journey is to choose where you want your cuttings to come from. I already had a specific flower in mind, so this part was easy for me.
I decided that I would take cuttings from a couple other roses in the bunch as well, so that I wasn’t just relying on the first one I tried to work perfectly.
I had read that the sooner you take your cuttings once you’ve received the flowers, the better, as they need to be in as good condition as possible to remain useful. That meant there was no time to lose, and I needed to act fast.
Luckily, the first thought in my head when I first saw that one flower was to try and replicate it, so I didn’t wait for a few days and then decided I wanted to take a cutting.
The bouquet also came with its stems resting in a small pot of water, so they never got the opportunity to dry out. The method I used meant that I could still enjoy the flowers as they were, as I didn’t need the whole stem of each one.
In fact, the vases that I have are all quite short, so it actually worked out perfectly to trim the stems down a bit for a better fit. It’s so great when things seem to turn out even better than expected – it’s almost like I planned the whole thing!
According to many botanical experts, you should try and plant new roots during the growing season, i.e. in the spring. This means that you avoid them getting killed in freezing winter weather, and they also don’t have to endure very hot, dry conditions that can be just as harmful.
It just so happened that my anniversary fell in April, so I actually received the roses at an ideal time for the cuttings to take hold. I assessed my garden carefully first, so I could work out where I wanted to plant them.
I found a perfect spot by some trees at the far end of the garden – they would still get access to light, but they wouldn’t be directly in the sun’s path.
Unlike many other flowers, roses don’t need full sunlight at all available hours, and do best in shaded areas. I dug my holes before taking the cuttings.
Most experts agree that each hole should be at least 4 inches deep and 6 inches wide, so I took these dimensions into consideration and left ample space between each.
Process
So, I knew what flowers I was going to be using. The next step was to carefully take cuttings from the stem of each one.
I made sure I was so careful at this point, because I was so worried about ruining my precious roses (especially my favorite!) or causing them to look worse than before.
That meant that I had to do my research before taking the plunge, but it wasn’t long until I felt ready to go. You need to run the stems under water while you make the actual cuts, and then put each cutting into a bowl of water straight away.
This is so that you keep them moist and prevent them from drying out. Water is very important for cuttings as it contains the nutrients they need to survive.
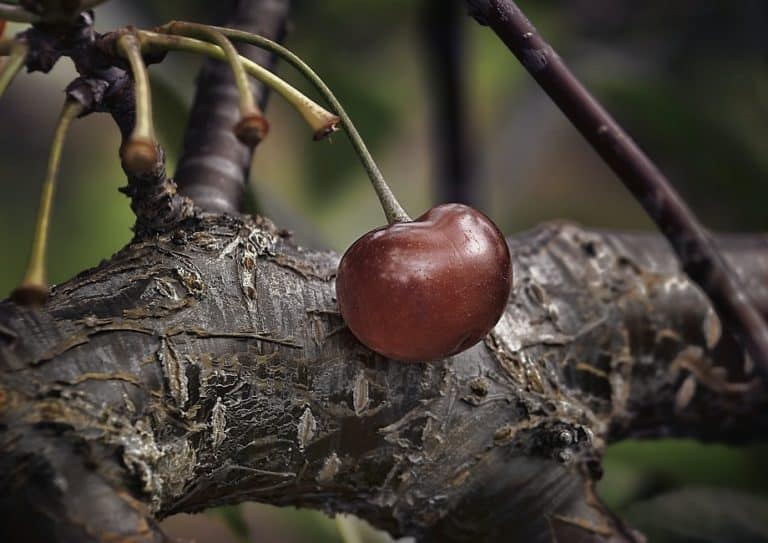
It is the same reason you keep pre-cut flowers in water, since they are no longer able to draw water naturally from the ground themselves. Each cut should be made at an angle of 45 degrees, and cuttings should be between 6 and 8 inches long.
This length ensures that every cutting will have 4 nodes, which are the parts of the stem where the leaves grow out of.
Once you’ve taken this much off the stem, the flowers you’re left with will be quite short, but you can get around this easily enough by choosing an appropriately short vase to sit them in.
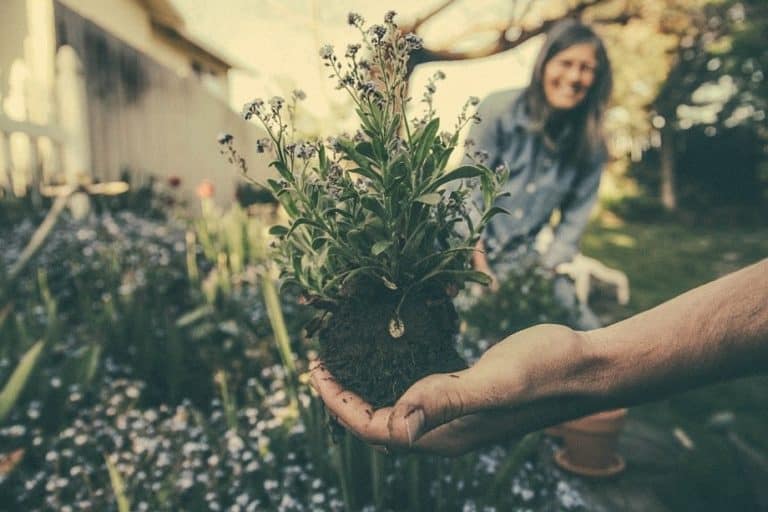
Still in their bowl of water, I took them out into the garden and planted them individually into the soil. I then covered them all with plenty more soil to fill in the holes I’d created, leaving about half of each stem sticking out of the ground.
I’d read that it’s a good idea to put a cover over them to increase the humidity, but this step isn’t necessary if you live somewhere that’s humid anyway. Since I’m in Florida, it seemed pretty safe not to bother with covering my little stems.
Besides, most of the suggestions are things like unturned soda bottles, and I wasn’t keen on the idea of introducing plastic into my garden.
One of the things I found most surprising about my initial experience was that I didn’t need to go out and buy specialty equipment to be successful.
Sure, I had some stuff hanging around from my previous gardening experiments, but nothing fancy. The number one most important part of growing cuttings is to arm yourself with as much knowledge as you can beforehand, since the equipment you use can only do so much.
Findings
As I mentioned earlier, spring is a great time to cultivate your cuttings, and that’s how I started off.
However, there are also experts who recommend taking them in the autumn, because that’s the period when the most recent blossoms have come off and you’re left with a bare canvas to work from.
This method requires you to propagate the cuttings inside over the winter, as they wouldn’t survive these first months outside at that time.
Since I had begun my first cuttings in the spring, I wanted to try the fall method as well so that I could compare the results of each.
When I get an idea in my head, I’m constantly searching for ways I can improve on it – I think that’s the scientist in me, eager to experiment with anything I can.
So when fall came along, I collected a few cuttings from my mom’s rose bush (with her permission!), during my biannual visit to her house.
I took them back home and placed them into 6 inch plant pots. I used Espoma Potting Mix, which is my favorite organic soil blend for indoor plants, but you can use anything that’s suitable for this purpose.
I planted them so that around half of the cutting was under the soil, and the other half was poking out of the top, as this is the recommended way to do it. As long as there is some of the stem still visible, it should be fine.
I assumed that the indoor-propagated plants would be more robust by the time they were ready for planting, but I was surprised to discover that the ones that were outdoors from the beginning settled in more quickly. That meant they started to take off earlier and develop than the indoor ones.
I guess this is something to do with the fact that they had longer to get used to being in the ground, and they didn’t need to be transplanted in at a later date. Of course, your own experience may differ, so it mainly comes down to what you would find easier.
Probably the most important factor as to whether or not your cuttings will be successful is the warmth of the soil.
While roses are one of the more hardy plants, and are therefore more likely to survive adverse conditions, they are only able to thrive when the soil they are in is a high enough temperature.
I suspect that, even after the winter had passed, the ground still hadn’t warmed up sufficiently by the time I came to plant my second lot of plants outside.
This is in contrast to the first batch, which I planted directly outside in warmer weather, when the average soil temperature was already higher.
Why Grow Flowers From Cuttings?

I embarked on my journey into growing cuttings because I wanted to reproduce a specific rose I received in a bouquet.
It is a great way of ensuring that you can have more and more of the same flowers you love – if you do it right and look after your rose bush.
You can potentially enjoy them forever! However, there are many other reasons why it’s great to grow your own flowers from cuttings.
Fun
If you have kids, they will love to help you with this project for your home garden. It makes a great activity for children of any age and any gender, and will teach them how they can nurture plants themselves.
Both my 5 year old son and 8 year old daughter were hooked when I let them put some cuttings inside small pots for the window ledge (this was on the 2nd go, for the ones I started inside).
I explained the task and, after asking about a zillion questions about why we were doing it and how it worked (I’m really not the best person to deal with this stuff, so I told them to talk to their science teacher about it!), they really got stuck in.
They loved carefully placing the cuttings in the pots, covering them with soil, then waiting to see what would happen. My children watched eagerly, each hoping that their plant would be the first to gain roots.
As you can see, you can even make it into a bit of a competition, which will give your little ones a project to work on over a period of time. Even now, they know which bushes are the ones they personally grew.
Be warned, though: they will start to ask you what other flowers they can do this with, as mine did – before you know it, you’ll have run out of room in your garden or kitchen!
Now, I believe you can never have too many flowers, but even I know what constitutes a ridiculously overgrown garden when I see one.
If you run out of space in your garden from all the cuttings you’ve taken, you can always sell some of the surplus bushes you create. This will mean that you can turn your little hobby into a small business of sorts, and you may get some extra pocket money to spend on gardening equipment.
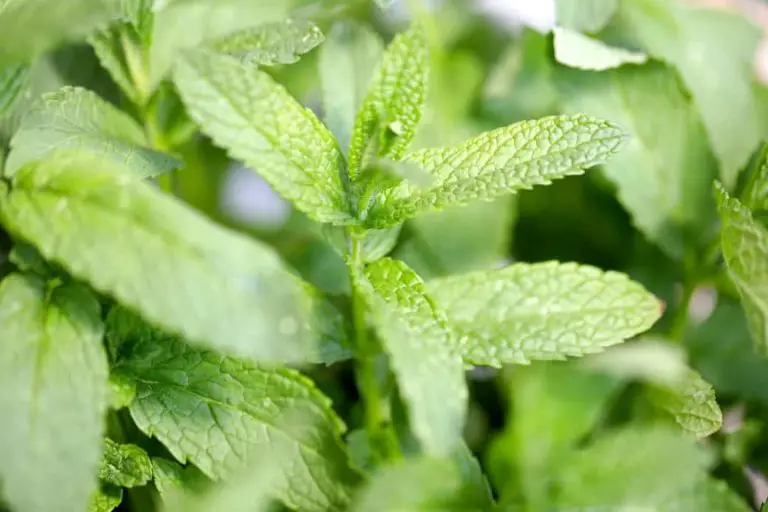
Alternatively, you can gift the bushes to your friends and family to mark special occasions such as birthdays. After starting with just roses, we’ve now branched out into growing lavender and hydrangeas from cuttings.
As well as herbs like oregano and sage – dinners taste that much more flavorful with herbs from our own garden.
Price
You will have realized by now that taking a cutting from a pre-existing plant won’t cost you anything – just make sure you get permission from the owner of the plant first. It means you don’t have to fork out to buy seeds or even an established plant.
While those things aren’t necessarily expensive (you can get a bag of rose seeds for just a couple dollars from your local gardening store). They soon add up if you aren’t successful on your first attempts and need to purchase more seeds.
Besides, there is something very satisfying about accomplishing such beautiful results without spending a single penny. It’s almost like a lifehack – you are just harnessing the powers of nature and using them to work in your favor.
You can transform a dull, lifeless garden into a vibrant one, even if you don’t have any budget whatsoever. All you need is a little patience and some basic gardening knowledge.
Of course, if you don’t have a rose bush already to take cuttings from, and you don’t know anyone who has one, you will still have to buy some roses yourself.
However, this will get you the added bonus of some lovely flowers to enjoy as well as letting you plant some more. So, while it may seem like a waste of money to spend $5 on a bunch of roses, you’ll find that it isn’t really.
Convenience
Not only is it cheaper to grow rose bushes from cuttings, it is also easier than trying to grow them from seeds. This is because seeds will take longer to propagate, and many of the seeds won’t even take at all.
A cutting is a much more stable option, as you already have a healthy basis from which shoots can grow.
The best part is that you can save yourself the trouble of having to go through the process of getting seeds, planting them, waiting for them to sprout, and then watching them grow. Instead, you can simply buy a few stems, stick them in water, and watch them grow right away!
You can expect your cutting to take root in just a couple months, and it should then mature steadily within a year or two after that.
On the other hand, growing the same bush from a seed will take at least 3 years before it actually starts producing proper flowers.
It is also the case that some seeds can take a couple of years to germinate, and many won’t even do so at all.
You are far more likely to achieve your goals with a single cutting than you are with a single batch of seeds, and it can be disheartening when you put in all that effort with nothing to show for it.
Are There Disadvantages To Growing Cuttings?
The only downside to growing your own cuttings is that you won’t always get exactly what you want. If you’re lucky enough to receive a rose from the exact same plant, you can ensure that you will get a perfect bloom every single time.
But you cannot guarantee this with your cuttings. You will often end up with two or three blooms per cutting.
And you will need to wait until all those blooms open fully before you can decide whether you like them or not. However, you are still less likely to achieve a certain look than you are with seeds.
This is what happened on my second attempt; my first ones (from the outstanding rose in my bouquet) happened to be lovely, and just the same as I hoped they would. However, the next batch of cuttings didn’t quite live up to the vision I’d had for them.
Don’t get me wrong – they’re still nice, but they’re no match for the original bush in my mom’s garden that I took them from. Maybe that’s because there’s a certain amount of nostalgia attached to it for me, and that’s something you can never replicate.
Conclusion
I discovered that growing roses from cuttings was much easier than I ever imagined it would be, and found it quite thrilling to monitor their progress when I got up each day.
On balance, I think I prefer planting them outside immediately, especially since we don’t have a lot of room in the house itself to keep plants growing there for a few months.
Not every cutting I took grew into a healthy rose bush, which I was expecting, but I ended up having far more success overall than I’d ever had with planting seeds from scratch. Maybe I’m just impatient, or maybe it genuinely is easier to propagate cuttings instead.
Either way, I will certainly be using this method from now on, and I hope I’ve given at least somebody the inspiration to try it for themselves.