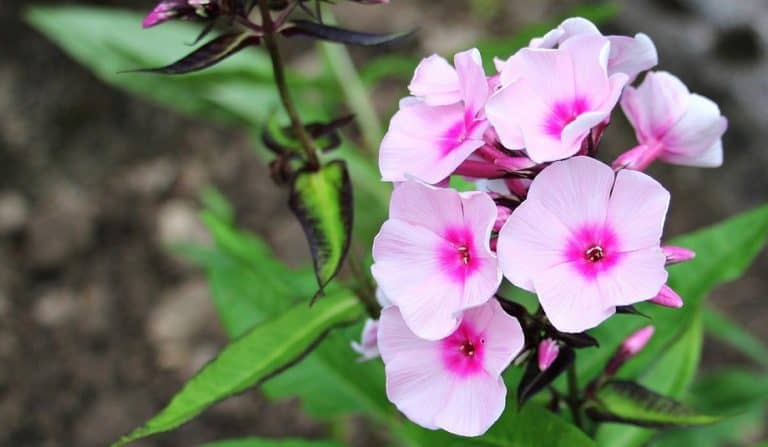
How To Grow Turnips In Your Backyard And When To Plant Them
Wondering when to start planting turnips in your garden? Take it easy, because these simple tips and advice are here to help.
Turnips are perennial vegetables that are commonly grown in gardens and can be eaten raw or cooked. They are Brassica rapa species and napa cabbage, bomdong, bok choy, and rapini. Read on to learn more about how to grow turnips in your backyard and when to plant them.
Contents
About Turnips
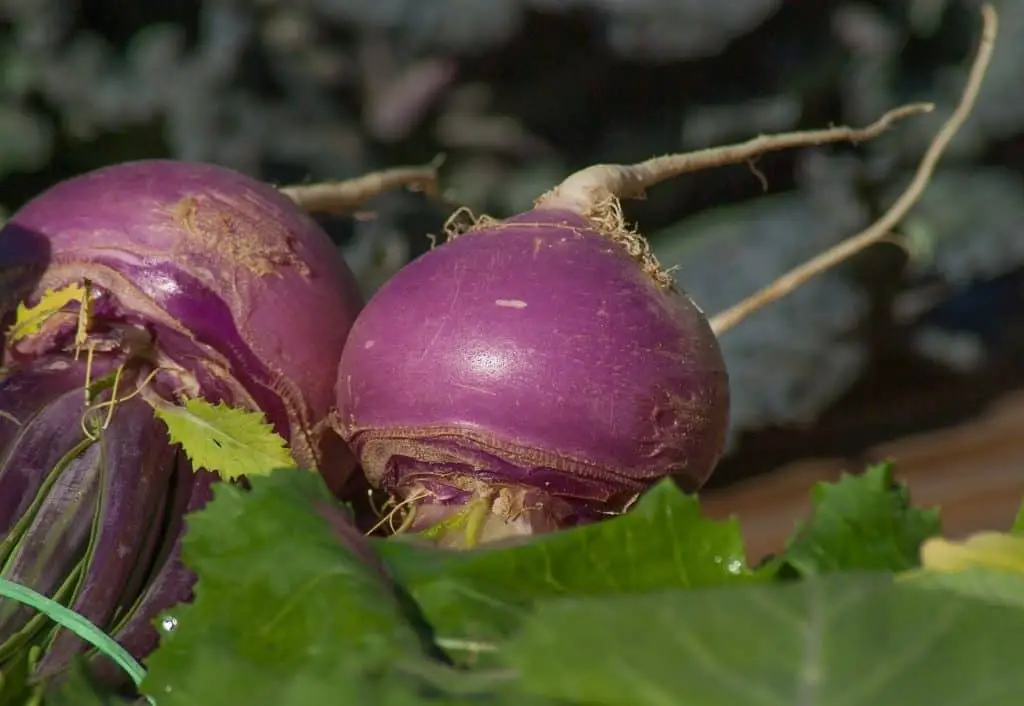
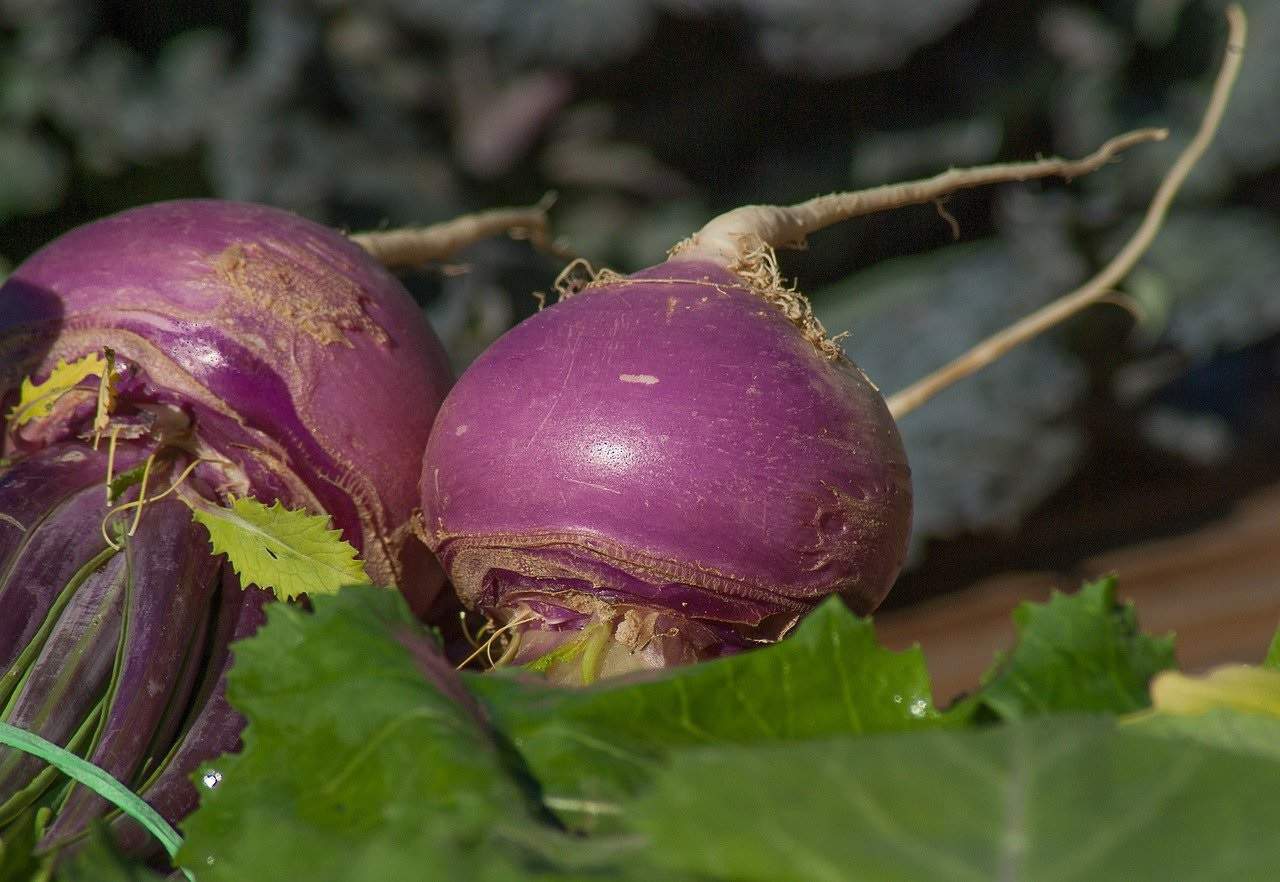
Like several other root vegetables, turnips are part of the brassica family and have a mild flavor. They are either green or purple when they are uncooked and can be served raw or cooked.
Turnips need sunlight and fertile soil to grow. They are produced either in full sun or partial shade. Full sunlight means better turnips. Sunlight is an energy source, so the more sunlight the turnips get, the faster their growth and the better their taste.
When To Plant Turnips
If you aim for a harvest in the late spring, sow your turnip seeds around two to three weeks before the average last frost.
Sow turnips late in the summer for an autumn harvest. Onions, squash, beans, or sweet corn are all good crops to sow after the summer harvest.
Early autumn is also an excellent time to sow seeds for a harvest in the fall.
Where To Plant Turnips
Generally, turnips thrive in full sun but take partial shade well too, especially if you plan to use their greens. There is not much that needs to be done to turnips, but they do require moist soil.
Propagation
Sow seeds directly in well-draining soil, rake into a half-inch depth, and plant in the sun or partial shade. The soil temperature must reach 40 degrees Fahrenheit for planting in spring.
The key to growing turnips successfully is to get the seeds planted before temperatures rise too high since too much heat can cause the roots to become woody and encourage early bolting.
If you live in a climate with an extended planting season that is cool, then you can plant turnips successively for a continuous harvest. Alternatively, wait until late summer to sow and harvest at the end of the season.
A few light frost touches on turnip roots can make them sweeter. They develop particularly well in cool fall temperatures.
Keeping the soil moist after sowing is key to sprouting. Thinning plants to 4-6 inches apart once they are a few inches tall is a good idea.
How To Grow Turnips
The turnips should be planted early if they will be harvested during summer. Plant turnips late in the summer so that you can harvest them before the first frost to have turnips to store throughout the winter.
If you plan to harvest the plant’s green portion, you need to plant them in full sun. Turnips tolerate partial shade though if you plan to grow the plant as green as possible. Turnip plants can be grown in an easy-to-prepare bed. Plant as usual by raking and hoeing.
Sprinkle the seeds over the dirt once you’ve finished and it’s not too wet. Gently rake the roots in. It is recommended to plant turnips about ½ inch (1 cm) deep and at a rate of up to 20 seeds per foot (31 cm); following planting, water the seed immediately.
Turnips should be thinned to about four inches (10 cm) apart once they’re growing so that they can form strong roots. A crowded root system can lead to malformed or small roots. If you grow them closer than 4 inches, this will prevent them from reaching their full size.
If you want to harvest turnips throughout the season, plant them every ten days, which will permit them to be harvested every two weeks.
Keep the beds weed-free, but be mindful of disturbing the roots of younger turnips.
For weed suppression and moisture retention, mulch heavily.
Avoid Bolting
Although we treat turnips as annuals, they are hardy biennials. Bolts can develop in the first year due to stress, such as temperature extremes (cold or hot) or nutrient deficiency. In the second year, they naturally bloom and bolt (fruit). A root that grows above the ground can also suffer, as can roots with little or no growth.
Avoid bolting by picking turnips before temperatures hit 80 degrees.
Pests
Even though turnips are hardy if not munched on, they are a brassica and, as such, they are usually attacked by insects and other pests.
Caterpillars
Many kinds of caterpillars infest turnips. The caterpillars include standard white and green cabbage loopers, cabbage root maggots, carrot flies, spruce budworms, and bean beetles. You may find them in your turnips by their small black droppings on the leaves.
There might be holes in the leaves of a turnip afflicted with any of these problems. To control them, make sure to spray your turnip leaves with insecticide regularly.
Aphids
These tiny, soft-bodied, greenish or pinkish insects suck the sap from turnips. They leave behind a sticky honeydew (a sweet liquid) that irritates the leaves and stems. Control them with a good spray of horticultural soap.
Also known as greenflies, they are tiny insects that can be seen hovering over the leaves searching for nectar and plant juices.
Cutworms
Cutworms are the larvae of the noctuid moths. They are brownish, slender, and up to 1 inch long. These larvae are night feeders and hide during the day under rocks or other debris, making them hard to spot. When cutworms damage the leaves of turnips, it may be because they are digging out the roots and feeding on them.
To prevent this, use a potato or oyster shell to block their access, as their tunnels will be just above ground level. Sunflowers can also be planted around the turnip beds to protect them from cutworms.
Cabbage Maggots
Cabbage maggots are the larvae of flies. They are almost 2 inches (5 cm) long and have a striped abdomen. While they are not a serious pest, they can be pretty annoying for gardeners. Sprinkle wood ash around your turnip bed and the larvae will leave.
Whiteflies
These are small, white flying insects that feed on turnips until they become brown and die. A good spray of soapy water will get rid of them.
Disease
Turnips can be infected by various diseases that affect their growth and production. Among them are white rust, downy mildew, turnip mosaic virus, fusarium wilt, and blackleg. Let’s discuss some of these diseases that can inhibit the growth of turnips.
White Rust (Puccinia Recondita)
This disease is natural and has been regarded as the most common disease affecting turnips. The infection causes white patches on the leaves of turnips, causing an unsightly appearance of the vegetable. The affected leaves turn yellow and fall off, causing injury to the plant. White rust is not usually fatal to turnips, but it can stop their growth and production.
Downy Mildew
The disease is initially characterized by small pale spots that develop into large blotches and yellow-green areas on the leaves. This leads to discoloration of the leaves that is caused by white, downy patches. The affected leaves turn yellow and ultimately fall off, causing injury to your turnip.
Clubroot
Clubroot is a parasitic disease caused by a fungus that attacks the roots of turnips. Symptoms of this disease can be seen on the upper surface of the seeds that resemble white spots. This fungus can cause the roots to swell and crack into bumps up to ¼ inches in diameter. The roots can become deformed, and turnips can be stunted.
Blackleg
Blackleg is a disease caused by a fungus that attacks the roots and stem of turnips. Symptoms of the disease are seen as significant, black, sunken spots on roots and branches. The affected roots start to turn yellow and eventually die, causing the turnip to die.
Broccoli Stem Flea Beetle
This type of flea beetle can damage the stems, roots, and crowns of broccoli by feeding on buds and flowers. The affected plants start to wilt, and the leaves become twisted. The beetles lay eggs on the stems, and the larvae feed on plant tissues.
Crops need regular rotation to prevent disease spread. Rich soil is best and you should avoid leaving water sitting on plants.
Companion Planting For Turnips
Companion planting is a great way to reduce or eliminate the need for pesticides when planting root crops such as carrots, potatoes, beets, and turnips.
Apart from the benefit of fewer pesticides in your garden, it also helps hedge the possibility of pests and diseases. For instance, you can plant turnips with beets since the latter repels flea beetles. Turnips also aid in attracting beneficial insects to your garden, especially ladybugs, which will prey upon aphids. You will also get some extra vegetables for free!
Harvesting
Harvesting turnips depends in part on you. Whether you prefer larger, heartier bulbs or sweeter carrots depends a lot on whether you harvest primarily for greens. Cultivar and growing conditions are also factors that influence harvest time.
Plants can be harvested with their leaves and roots together when they are about 2 inches in diameter.
In addition to topping the foliage when it has reached about a foot in length, you can harvest the roots at about 3 to 5 inches in diameter, depending on the variety and your preferences.
Cut greens only once to ensure they can store the solar energy needed to fuel root growth after cutting the leaves. Alternatively, you can remove only the outer leaves from each plant, allowing the inner leaves to continue stimulating root growth. Increasing your harvesting frequency may make it possible to harvest leaves multiple times from the same plant.
Preserving
You can keep roots for several months if they are correctly stored. To maintain the ideal storage temperature, the fridge should be set between 32 and 35 degrees Fahrenheit. Besides holding them in a root cellar or garage, you can keep larger yields in a dry place.