Organic Gardening: 5 Tips for Beginners
{“statusCode”:401,”message”:”License key missing”}
Contents
1. Use Mulch to Trap Moisture
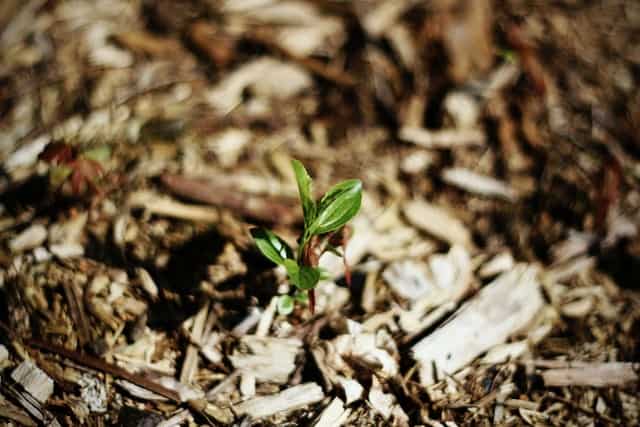
Over-watering is bad for plant roots, but the water often evaporates too quickly from normal soil to allow the plants to get adequate moisture – especially if you live in an arid environment. There are many different ways to keep moisture levels up, including using heavier soil or planting vegetables with robust root systems. However, the simplest method to stop the evaporating problem is to cover the plant bed with organic mulch.
Although you can buy mulch at most gardening stores, you can also often find it at free mulching events. Whether the trees come from a thinned-out forest or a post-holiday collection, most foresting agencies and local parks departments will mulch old vegetation and offer it either for free or for a low fee. As an organic gardener, this is an incredibly convenient way to get as much mulch as you need without worrying about the environmental impact.
Once you get your mulch, spread it across your plant beds at a thickness of around 2-4 inches. If you’re worried about weed control, you can also apply a 4sheet thick layer of newspaper directly on the dirt before you lay the mulch down. After you’re done mulching, water until the wood is completely damp. Then, water semi-regularly to keep moisture trapped without drowning your plants.
2. Add Cover Crops in the Winter
One of the mistakes that many new gardeners making is leaving their plant beds empty after the target harvest. Your zucchini plant won’t be able to survive through the winter season, and you don’t want your carefully curated dirt to blow away while there aren’t any roots to hold it in place.
First, pull up the stems of any plants that have been successfully harvested. You can always compost these parts if they are free of disease and don’t have any attached seed heads. Then, choose a cover crop that’s appropriate for your soil and the season you’re preparing for. Common choices include legumes, grasses, and broad leaves.
Plant your cover crop in the empty spaces of your garden. Some of these crops offer their own harvests, but others exist merely as placeholders. Either way, as these crops start to die to the winter air, go ahead and leave their stems and leaves in the soil. Over the winter months, this natural compost will add nutrients to the soil while keeping your precious dirt in place.
As a final step, remember to turn the soil with your cover crops in it at least 3 to 6 weeks before it’s time to plant your seeds. If some of your cover crops have survived, you may need to weed them or till them before they manage to go to seed. Either way, this is an excellent time to check your soil quality, add fertilizers, and generally get ready for the planting season.
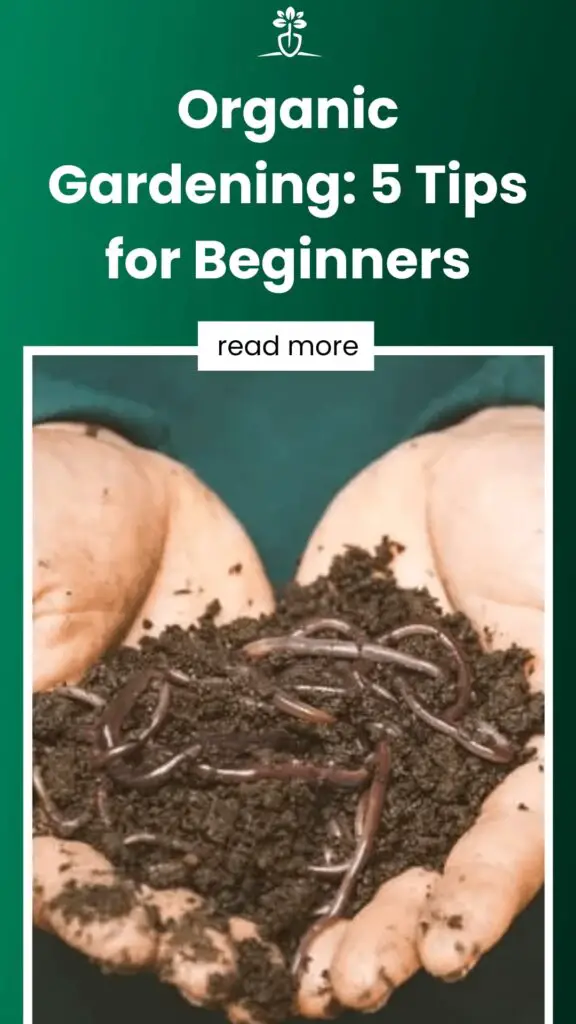
3. Encourage the Presence of Earthworms
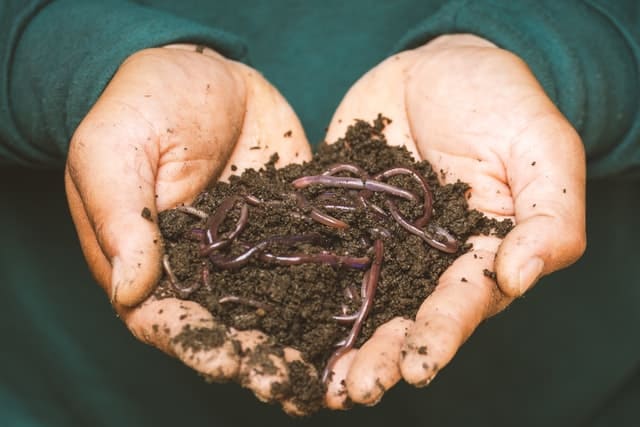
Earthworms are an essential part of a healthy soil complex. Worms till the soil and add essential nutrients that are difficult to get through any other method. Worm presence in your soil is created by having a healthy environment with the food and resources that your miniature garden helpers are looking for.
The first thing you need to do to encourage the presence of earthworms is to till your soil far more rarely. Expect to turn your soil over in the spring and possibly once again directly at planting time. The more you move the soil, the less safe the worms will feel.
Next, make sure there is plenty of organic matter resting on top of the soil. Mulch is excellent for this purpose, but manure and compost are also excellent choices. Finally, check that the soil’s hydration levels, acidity, temperature, and texture are appropriate for the worm culture you want to create.
If you follow all of these conditions, worms should start to appear in your soil naturally. However, if, for some reason, there are no worms in your area, you can also buy worms from your local gardening store. Just remember that if the soil is not safe for the worms, they will eventually die out instead of starting up a new population.
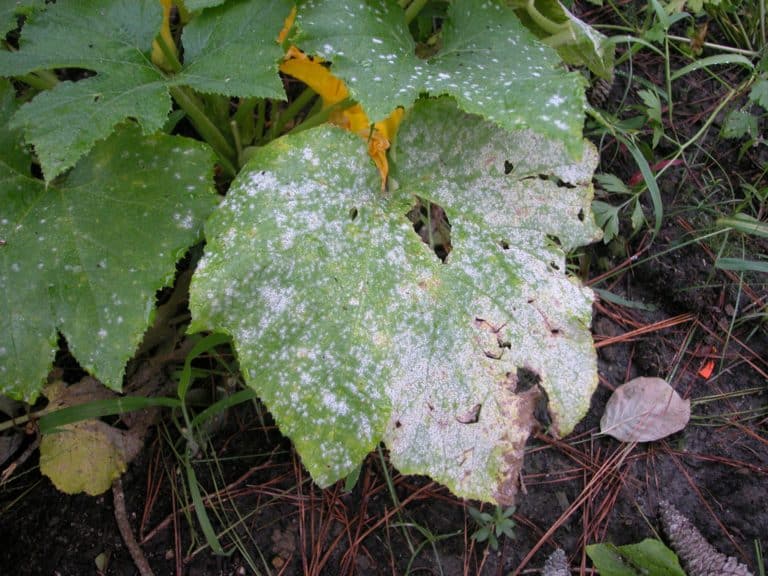
4. Don’t Let Weeds Go to Seed
Composting and organic gardening almost always go directly hand in hand. However, if you’re not careful, adding compost to your soil can introduce new plants in the wrong part of your garden. This happens when flowered seed heads have been mixed into the compost – something that many new gardeners don’t know to avoid.
Start by weeding your garden promptly. Never let the weeds flower and produce seeds, as they will almost always fall into the soil and lie dormant until the conditions are right. You also need to avoid composting plants that are flowering or which have seeds. There are plenty of other opportunities to find compost material, so don’t be afraid to throw this plant matter away.
If plants start to bloom in your compost bed, it’s probably because the temperatures are too low. Compost beds need to be between 130 to 170 degrees Fahrenheit to avoid internal growth and encourage maximum decomposition. You can improve your compost bed’s heat with nitrogen, moisture, and regular maintenance.
5. Plant Onions as a Natural Pest Deterrent
As an organic gardener, one of your greatest struggles is likely going to be pest control. Non-invasive insect control methods are always hard to find, and dealing with deer, birds, squirrels, and other scavengers is another problem.
Although they’re not a perfect solution, onions and chives are a surprisingly strong deterrent that can be used all over your garden. Plant them close to the roots of plants that you don’t want to be munched on by curious animals. The strong scent of the chives will keep pests both large and small at bay.
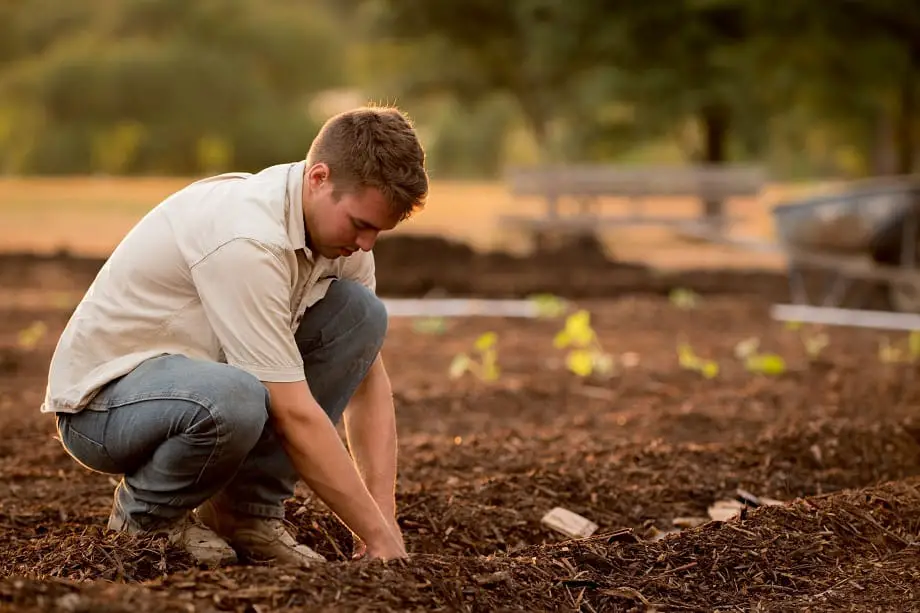
Organic gardening requires more attention than gardening with normal tools and pesticides. Spend time watering, weeding, and mulching your plant beds every day. As long as you maintain your garden regularly, you should be able to get excellent results.