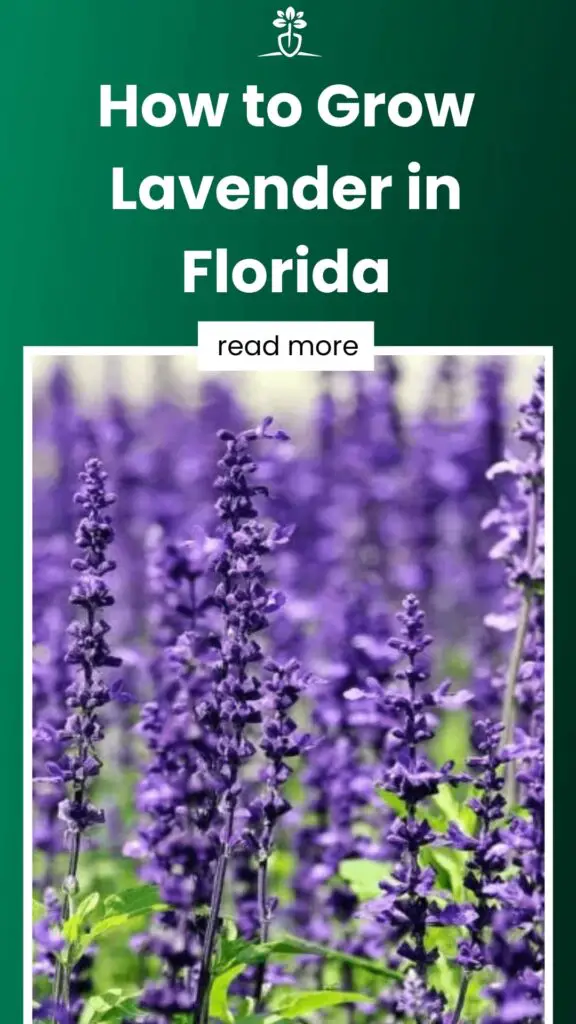
How to Grow Lavender in Florida
Thinking about growing lavender in Florida? This guide is full of everything you need. With handy tips and easy advice, it sheds light on fun ways to get your lavender flourishing in the sunny state. Dive in and uncover all the surprises to make your lavender blossom beautifully.
We will walk you through everything that includes how you can grow lavender in Florida, the different types suitable to this area, and how you can go about the whole process of growing and caring for your lavenders.
Contents
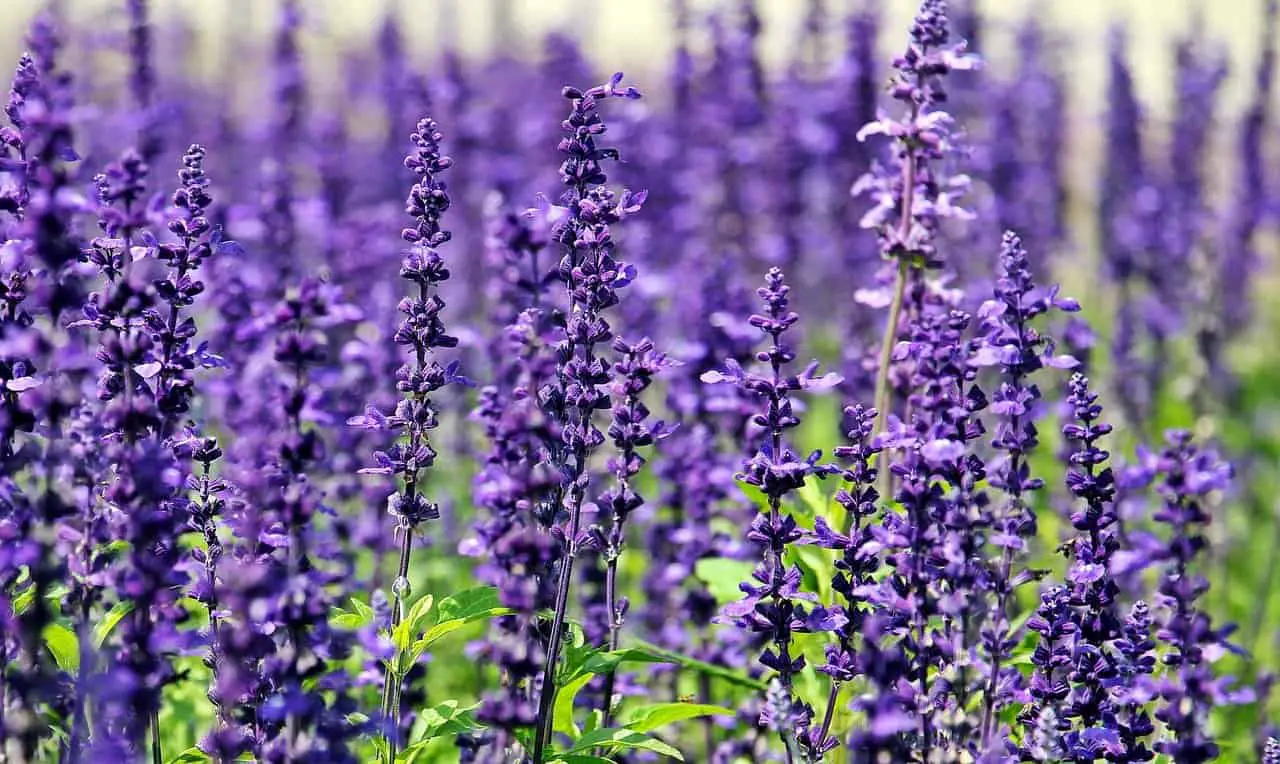
Lavender

The origin of lavender can be traced back to India, the Middle East, and the Mediterranean regions. They are infamous for their appeal, exquisite smell, and their usage as herbs and flavorings.
These flowers boast a presence extending as far as Roman times when used in soaps, scented baths, and even for medicinal purposes. Today, lavender is used for the purposes mentioned above as well as controlling pests and as sedatives.
Florida
On the other hand, Florida is a state that is well known for being hot and humid. This state is, therefore, widely preferred by tourists who love sunshine and warmth. However, unlike tourists, lavender doesn’t do well in areas that are too hot. They also don’t do very well in loam soil, and it is common in this state.
All the factors listed above add up to unfavorable odds for lavender growing in Florida. However, we have some good news for anyone that wishes to grow lavender in this sunshine state. Some species of lavender can be grown in Florida.
Some like the Phenomenal French Hybrid can even do exceptionally well in Florida with the right amount of care.
Best Lavender Hybrids you can grow in Florida
If you want lavender hybrids that will perform exceptionally well in Florida, you are in for a treat. The following three below will not disappoint you.
Phenomenal French Hybrid Lavender
This hybrid was dubbed ‘Phenomenal’ because of its exemplary performance even in unsuitable climatic conditions. Phenomenal lavender can survive in cold weather, resist diseases and tolerate high levels of heat and humidity.
This lavender’s toughness is due to it being a hybrid of the Portuguese lavender that can tolerate heat and the English lavender, which can resist cold conditions. And, as if these qualities don’t make it exceptional yet, you can grow Phenomenal Lavender even in acidic soils.
It grows at an average of 2-5 feet. It has narrow leaves that tend to be gray-green. It also blooms mostly in midsummer with beautiful flowers that tend to be bluish-purple.
Goodwin Creek Grey Lavender
The GCG Lavender blooms all summer. This hybrid can do well in Florida since it is highly tolerant to humidity and heat. Its origins are a possible cross between L. Lanata and L. Dentata. It can grow to heights of between 2-3 feet. Its leaves are narrow and serrated with a silver-greenish light color.
GCG Lavender blooms throughout the year in mild climates. When it blooms, it produces beautiful bluish-purple flowers. However, this lavender is infamous for producing gorgeous flowers during winter.
Lavandula Allardii
This hybrid is less popular for its flowers as compared to its luxuriant foliage. It is a hybrid of L. Dentata and L. Latifoila.
Lavandula lavenders come with a high level of fragrance, and narrow leaves that are slightly tooth-edged. You can dry and use this as an excellent moth repellant.
Like Phenomenal and GCG lavenders, Lavandula can tolerate humidity and heat quite well, and for this reason, you cannot go wrong growing them in Florida.
However, you should note that this lavender only blooms once, and the results aren’t impressive. This is why we recommended you grow it for its foliage rather than its flowers. It can grow to an average height of 2-3 feet.
How do I ensure my lavender grows strong and healthy?
Most new growers frequently ask this question. The answer is always the same. Apart from ensuring that you are growing lavenders that are tolerant to your area’s climatic condition, you also need to pay close attention to how you grow and take care of them.
Below are several factors that you need to take into consideration to ensure your lavender growing endeavor makes you smile:
Growing Conditions
Your lavenders need to grow in a location that offers suitable conditions. They require a location with plenty of sunshine and superb water drainage.
If you plant your lavenders in soil that retains water for too long, e.g. clay, they will struggle. Or, worse still, your lavenders will rot and die. So avoid boggy soil.
You can also improve your lavender’s quality by growing them in a spot that has free airflow and isn’t too sheltered. Your plant needs airflow to move the air’s humidity, therefore, boosting growth.
Soil PH is another crucial condition that you need to factor in when choosing a good location. You should test the soil PH to ensure it is within your lavenders’ preferred limits. They do well in neutral or slightly alkaline PH that is around 6.5-7.5. If your spot lacks this level of soil PH don’t fret; you can always balance the PH by changing it using dolomite or calcium carbonate.
General care
Lavender plants aren’t needy in terms of care except if they show signs that indicate they are struggling. The best three listed above can tolerate near-drought conditions. This means that you don’t have to water them regularly. Fertilizing them is also discouraged since it can dilute the essential oils present and, therefore, hamper fragrance.
However, if you notice any faded flowers, you can get rid of them to help your plants grow fresh ones.
Your lavender will also require care if they are sick. That’s right; lavenders, too, can get sick. You may think that their tough characteristics make them totally disease-free, but they don’t.
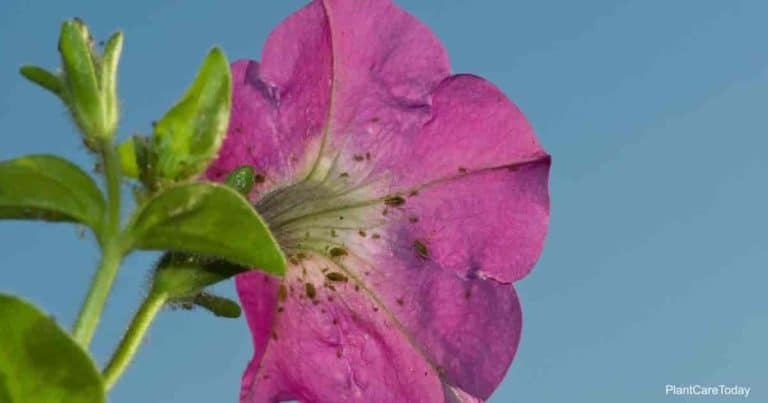
Lavender can show signs of sickness, i.e., wilting, off-color, from any of the following causes:
• Excess moisture in the soil- As we said before if you grow your lavenders in soil that doesn’t drain water well, they are likely to struggle or die. This is especially the case in winter.
The excess moisture will cause your lavenders’ roots to rot, and their backs will eventually die. If this happens to be the case, then you have no option but to get rid of the dead plants and start over.
• Lavender Leaf Spot- This is a fungal disease that will affect your lavenders if you grow them in an area that is rainy and has extreme humidity.
If your lavenders get this disease, their leaves will turn yellow, spots will start to appear, and they will die eventually.
• Alfalfa Mosaic Virus- You may find the name Alfalfa funny to pronounce, but you will not find this disease funny at all if it affects your lavenders. It is not deadly to your lavenders, but it is highly contagious.
This disease will affect the whole of your lavender plant, so you can’t remedy it by getting rid of stems that look sick. You can recognize it on your lavender by checking that they have leaves with bright patches that are yellow or if they curl and lose shape.
How to Grow Lavender at Home Using Seeds
The best seasons to grow your lavenders in Florida are either fall or winter. However, in any other place, you can grow them during either summer or spring. Before we dive into the steps for growing lavenders using seeds, let us have a quick look at what you will need.
List of things you’ll need
Lavender Seeds
Sand that a builder can use
Paper towel with moisture
A plastic bag that can be sealed
Refrigerator
Soil with excellent water drainage capabilities
Steps for planting
Step1: Replicate winter conditions
We stated earlier that lavenders do well in Florida during winter or fall. Therefore, if you want your plants to sprout first, you should first simulate winter conditions with temperatures below 40ºF.
Take your lavender seeds, wrap them in a moist paper towel, put the paper towel with seeds inside a plastic bag, and seal it. Then, put the whole thing in a refrigerator and wait for not less than three weeks. This will replicate winter conditions similar to those in the North.
Another measure you can take before planting your seeds is soaking them in water for approximately 12 hours then soaking them again in Gibberellin for 2 hours. If not Gibberellin, you can buy any growth regulator from any local store that has agricultural supplies.
Step 2: Find a suitable area and prepare it for planting.
Again, DON’T plant your lavenders in an area that holds water for long, even during the rainy season. You can improve the suitability of your planting area by adding ½ inch of the type of sand used by builders. This layer of sand will ensure your seeds are dry.
Step 3: Plant the lavenders seeds
Before sowing your seeds, first, dampen the soil by sprinkling a little water. Then plant your seeds and add a cover layer of soil that measures 1/8 inch in thickness. Don’t add a thick soil layer because darkness will affect the germination of your lavenders.
Alternatively, you can scatter the lavender seeds then press them gently into the soil. Again, don’t press them too deep otherwise, they won’t germinate.
Your seeds will take approximately 3 weeks to germinate.
Step 4: Care for the seedlings
Take good care of your seedlings by watering them sparingly a maximum of twice a week. This will ensure that the soil stays moist and your seedlings grow. If your area gets plenty of rain, you don’t have to water at all.
If you water too much, the excess soil moisture may encourage the growth of mushrooms.
Step 5: Set up the potting or soil mix
You can prepare this mixture using manure, lime, gravel stone (3 max. with a diameter of approx. 2.5cms), and bone meal.
Manure will encourage your lavender’s healthy growth, lime and bone meal will increase soil alkalinity, and pea gravel stones will improve soil drainage. You might want to try some mulch as well.
Cover this mixture with a soil layer in preparation for the transfer of your seedlings either to the ground or to the pot.
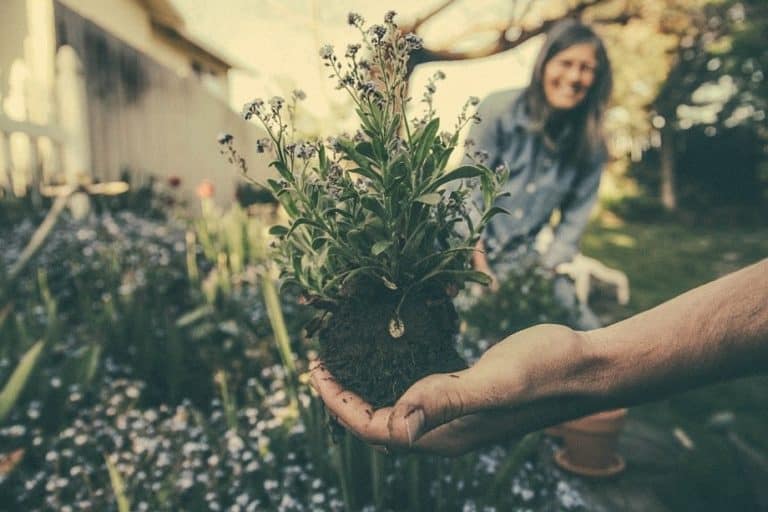
Step 6: Transfer your lavender seedlings
The transfer of your seedlings should take place when they attain a height of 5-10cms. Before you put your seedlings in a habitat, you should get rid of soil from the roots by shaking gently. By transferring your seedling without soil, your lavenders will adapt and grow faster in the new habitat.
Step 7: Plant them
Now that you have lavender with bare roots, place them carefully in the habitat you have prepared. Then fill the area around the roots with some soil and pat gently.
Note: If you’re planting several lavenders in a big habitat, ensure that each plant is separated from the next by 1 ½ inch of space.
Propagating Lavenders from Cuttings
You can also use either soft, woody, or green cuttings for your lavender propagation. Your choice of cuttings should be based on the season that you’re growing and the variety you wish to grow. Soft cuttings aren’t best for rooting since they tend to focus most of their energy on flowering, whereas you should opt for woody cuttings if you want a variety of lavender that blooms freely. On the other hand, green cuttings tend to root fast, and you can remove several from the parent lavender plant without harming it.
Note: The hardwood cuttings will work miracles if you want to propagate your lavenders using cuttings that have higher chances of sprouting into new plants.
List of things you will need
Knife
A parent lavender plant
Pot for planting
Stick
Pruning shears
Rooting hormone and medium
A transparent plastic bag
Steps for Propagating
Step 1: Select fitting stems
You can determine a stem’s suitability by ensuring it is straight, has a healthy look, and doesn’t have any visible buds or flowers. After choosing a suitable stem(s), cut it using pruning shears at the height of approximately 3-4inches from the top. You should cut the stem just under a leaf node.
Step 2: Ready the cut stem
Prepare stem by first getting rid of any leaves that may be present 2 inches from its bottom. Then take the knife and remove the skin from one side of the now leafless 2inches of the stem.
Step 3: Prepare planting pot
Ready the planting pot by filling it with a rooting medium. The medium can either be homemade or purchased from an agricultural supply store.
Step 4: Insert the lavender cutting
Dip the aforementioned leafless and skinless 2inches of the cutting in the rooting hormone, then lower it into a hole in the rooting medium. You can prepare a hole in the medium by poking a hole using a stick. The hole is crucial in ensuring the hormone doesn’t rub off when you insert the cut into the medium.
After inserting the cutting, gently firm the medium to ensure your lavender is upright.
Step 5: Add the plastic bag
You can now replicate a small greenhouse by covering the pot gently using a plastic bag. Note that the bag should be transparent.
Step 6: Keep an eye on the plant
Check on your plant regularly. If you used a woody cutting, you could expect it to take much longer to root than a green one. You can check whether your lavender cutting has taken root by gently pulling on it. If you can feel it resisting, then this is a good sign of rooting. But don’t pull too often otherwise, you will break your cutting.
Give your cutting time to root properly, then get rid of the bag once it’s done.
Step 7: Facilitate growth
You can facilitate the healthy growth of your plant by doing the following:
• Placing it on a spot with plenty of sunshine
• Watering it if the soil happens to be dry
• Giving it fertilizer once a week. The fertilizer should be liquid and ¼ strength
Step 8: Transplant
You can transplant your lavender to another pot or a new bed safely after 2-3 weeks.
Conclusion
Florida is a beautiful state. If you are a gardener in Florida, you can add a lovely landscape of lavenders to its gorgeous beaches and sparkling winters without worrying too much about the heat and humidity. All you’ll have to do is select a suitable lavender type that’ll do well in your Florida garden, make sure that the soil has the right conditions i.e. PH and excellent drainage, and go for a spot that isn’t too shaded.
Remember, all the lavender varieties we have listed above can do well in Florida, so try them out and see which suits your taste best. We hope this guide will help you to grow the most beautiful lavenders in Florida.
Good luck!